

Table of Contents
- Why Are Diamond Shaped Mirrors in Dubai Becoming a Luxury Interior Staple?
- Which Diamond Mirror Layouts Suit Luxury Dubai Spaces?
- Which Diamond Proportion Creates the Right Visual Effect?
- How Do You Plan a Diamond Pattern Mirror Wall in Dubai?
- Why Does Gulf Humidity Damage Mirrors, and Which Silvering Prevents It?
- What Bevel Width Works Best for Bevelled Diamond Mirrors in UAE Homes?
- How Are Diamond Decorative Wall Mirrors Mounted Safely in Dubai?
- What Goes Wrong With Diamond Mirror Walls, and How Do You Prevent It?
- What Should Fit-Out Contractors Check Before Mirror Installation?
- How Do You Clean and Maintain Diamond Mirrors in Dubai?
- How Do Diamond Mirrors Connect to a Wider Glass Scheme?
- Final Planning Notes for Diamond Shaped Mirrors in Dubai
- Frequently Asked Questions
Diamond shaped mirrors in Dubai have moved from salon feature walls into villa foyers, penthouse dining rooms and hotel lobbies. A rhombus catches light at angles a rectangle cannot, so a single wall reads as sculpture rather than glass.
That effect survives only when geometry, silvering and fixing are engineered together. A careless grid shows uneven points, blackened edges within a few seasons, or tiles that creep on the wall.
This guide covers layout, proportion, glass specification, bevelling and mounting for Gulf conditions. It also shows where diamond shaped mirrors in Dubai from Murtaza Glass fit into a wider scheme. It is written for villa owners, interior architects and fit-out contractors who need numbers, not adjectives.
Diamond shaped mirrors are becoming a luxury staple in Dubai because they combine geometric pattern with reflected light, giving a plain wall the depth of a feature without adding bulk. Their angled edges echo Art Deco and contemporary hospitality styling, which suits the city’s marble, brass and layered-lighting interiors.
The shape does three jobs at once. It breaks the horizontal rhythm of a tall wall, it multiplies light from chandeliers and downlights, and it makes a narrow foyer feel wider.
Typical applications include:
The trade-off is honesty. A mirror shows every flaw, from a 1 mm misalignment to an uneven joint, so treat it as architecture rather than an accessory.
Three layouts dominate luxury diamond shaped mirrors in Dubai projects: full diamond grid accent walls built from custom geometric mirror tiles, large standalone feature mirrors, and harlequin or chevron compositions with tinted inserts. Each handles light and joint tolerance differently, so choose the layout before choosing the glass.
Interlocking tiles form a continuous three-dimensional reflective wall, ideal for luxury dining rooms and entrance foyers. Flat polished edges suit tight butt joints, while a narrow bevel adds a faceted shimmer.
Plan the grid from the room’s visual centre line, not a corner, so cut tiles fall where they are least noticeable.
A single oversized diamond works as a focal point above a console, fireplace or reception desk. Metal channel frames in Brushed Gold, Matte Black or Champagne Bronze define the outline and protect the sharp points.
Hang it on a concealed French cleat so no fixings interrupt the reflection.
Alternating clear diamonds with antiqued, bronze-tinted or smoked grey inserts adds tonal depth. Keep the ratio disciplined: one tinted diamond for every two or three clear ones reads as intentional, while random scatter reads as error.
Chevron arrangements stagger diamond rows into a directional zigzag, which suits long corridors and bar backdrops. Order all tinted glass from one production batch so colour density matches.
Use this matrix to shortlist a layout before site measurement.
| Layout Style | Typical Bevel Width | Edge Finish | Ideal Room Application |
|---|---|---|---|
| Full diamond grid | Flat polished or 10 mm | Butt joint or narrow bevel | Dining rooms, foyers, lobby feature walls |
| Large standalone diamond | 15 mm to 25 mm | Wide bevel with metal frame | Above consoles, fireplaces, reception desks |
| Harlequin or chevron with tinted inserts | 10 mm to 15 mm | Bevel on clear, polished on tinted | Salons, restaurants, bar backdrops, dressing areas |
Diamond proportion changes the mood of a wall. A square-on-point diamond (90 degrees) feels formal and calm, a 60-degree rhombus creates a three-dimensional cube effect when tints alternate, and an elongated 1:2 diamond stretches the wall vertically.
Most guides skip this decision, yet it drives everything that follows: cut waste, edge pieces and chipping risk. The corner angles below follow directly from the diagonals.
| Proportion | Corner Angles | Example Size | Visual Effect | Best Use |
|---|---|---|---|---|
| Square on point | 90° and 90° | 300 mm side, 424 mm diagonals | Calm, formal, classic harlequin | Dining rooms, formal foyers |
| 60° rhombus | 60° and 120° | 300 mm side, 300 × 520 mm diagonals | Cube illusion with tinted inserts | Feature walls, lobbies |
| Elongated 1:2 | About 53° and 127° | 250 × 500 mm diagonals, side about 280 mm | Tall and slender, lifts the ceiling line | Narrow walls, corridors, salon stations |
Sharper corners raise chipping risk. The 53-degree point of an elongated diamond needs more careful point finishing and handling than a 90-degree point.
Planning a diamond pattern mirror wall starts with the wall, not the tile: measure height, width, socket positions and lighting first, then choose a diamond proportion that finishes with balanced edge pieces. A 60-degree rhombus with 300 mm sides and 2 mm joints is a practical starting point because it produces clean repeats and a clear three-dimensional rhythm.
The geometry is simple. A rhombus with 300 mm sides and 60/120-degree corners has a short diagonal of 300 mm and a long diagonal of roughly 520 mm. Leave a 2 to 3 mm joint for glass tolerance and installer adjustment, and mark a plumb centre line before any adhesive is applied.
Use this Diamond Wall Planning Matrix on every shop drawing:
The schematic below dimensions the 60-degree tile, the grid layout and the joint, and previews the bevel profile covered next.

Gulf humidity and condensation attack a mirror at its edges first, where moisture reaches the silver and paint layers. Over time this causes black spots, silver lift and edge corrosion. Copper-free high-definition silver backing with a quality protective paint system slows this process and keeps the reflection clear.
Mirrors for internal use are assessed under EN 1036-1, which sets minimum requirements for optical, visual and edge faults and includes durability testing for silvered float glass.
Edges are the weak point. Every cut and bevel exposes the backing, so ask how edges are sealed after fabrication. In bathrooms, dressing rooms and salons, steam and air-conditioning condensation test that seal hardest.
For plain wall panels beside your diamonds, see our custom glass mirrors.
Copper-free silvering avoids the copper layer used in some mirror constructions and relies on a protective paint system built for humid conditions. It is the right specification for coastal apartments, bathrooms, salons and any wall near air-conditioning condensation.
Pair it with solvent-free adhesive, because the wrong chemistry can attack even a good backing.
Thickness controls flatness, weight and bevel capability. High-clarity, distortion-free float glass matters more as size grows, because ripple becomes visible across long diagonals.
| Glass Thickness | Approx. Weight per m² | Typical Diamond Use | Bevel Suitability |
|---|---|---|---|
| 4 mm | 10 kg | Grid tiles and small accents | Up to 10 mm |
| 5 mm | 12.5 kg | Medium feature mirrors | 10 mm to 15 mm |
| 6 mm | 15 kg | Large standalone diamonds | 15 mm to 25 mm |
Weights follow from float glass density of about 2.5 kg per m² for each millimetre of thickness. Confirm bevel capability with your fabricator for each project.
Run a simple clarity test before approving glass: look at a straight door frame in the mirror and move your head. Waves in the reflected line signal distortion.
Bevel width should scale with mirror size and glass thickness: 10 mm for tile grids, 15 mm for mid-size feature pieces, and 20 to 25 mm for large statement diamonds in 6 mm glass. Wider bevels refract more light into prismatic bands but need thicker glass to look balanced and stay strong.
When specifying bevelled diamond mirrors in UAE projects, request slightly eased points. Acute corners concentrate stress, and eased tips resist chipping during handling and installation.
Flat polished edges give a clean line with no prismatic break, so a tiled grid reads as one continuous surface. Edge quality matters here: a chip at a point shows immediately against a 2 mm joint.
Planning a diamond wall? Share your wall measurements, a photo of the space and the quantity needed. Murtaza Glass will suggest a diamond size, bevel width and spacing that suits it. WhatsApp +971 58 543 0631.
Diamond decorative wall mirrors are mounted with mechanical support plus compatible adhesive. Grid tiles bond to a prepared substrate with neutral-cure mirror adhesive, while large feature mirrors are bonded to a rigid sub-frame that hangs on concealed French cleats. Solvent-based or acid-cure products must never touch the silver backing.
Neutral-cure mirror adhesive protects the silver and paint layers. Apply it in parallel vertical beads, never dots, so condensation can drain and cure by-products can escape.
Bead size and spacing follow the adhesive data sheet. Manufacturer guidance on mirror bonding specifies vertical beads and a primer on porous substrates.
Keep a temporary support ledge in place for the full cure time.
A French cleat is a pair of interlocking rails cut at 45 degrees. One rail is fixed to the wall, the other to the mirror assembly, and gravity locks them together. The glass itself is never drilled. It is bonded to a rigid sub-frame panel that carries the mirror-side rail.
Fix the wall rail through a moisture-resistant backing board into masonry with rated anchors, or into studs on drywall. Weight is easy to underestimate: a 6 mm diamond with 1,500 mm by 2,400 mm diagonals covers about 1.8 m² and weighs roughly 27 kg before the sub-frame. Have anchor ratings verified for the actual substrate.

Match the system to size and weight, not preference.
| Mirror Type | Primary Fixing | Temporary or Added Support | Key Check |
|---|---|---|---|
| Grid tiles (4 to 5 mm) | Neutral-cure vertical beads on a sealed, flat substrate | Bottom ledge and spacers during cure | Substrate flatness and dryness |
| Medium feature diamond | Neutral-cure beads on a rigid backing board | Bottom support until cured | Adhesive compatibility with back paint |
| Large statement diamond (6 mm) | Bonded sub-frame hung on 45° French cleats | Support ledge while adhesive cures | Anchor rating and load path |
Most diamond mirror failures trace back to five causes: moisture reaching the edges, incompatible adhesive, uneven substrates, poor edge finishing and unplanned layouts. Each leaves a recognisable symptom, so a short diagnostic table lets contractors prevent problems before delivery.
| Symptom | Likely Cause | Prevention |
|---|---|---|
| Black spots or darkening at edges | Moisture reaching exposed silver and paint | Copper-free silvering, sealed edges, ventilation, dry wall |
| Dark patches or silver damage behind the glass | Acid-cure or solvent-based adhesive | Mirror-rated neutral-cure adhesive only |
| Tiles creeping or uneven joints | Uneven substrate or no support during cure | Flatness check, ledge, spacers, full cure time |
| Wavy reflections across a diamond | Low-grade or poorly flat glass | Specify distortion-free float glass, inspect before install |
| Glare or hot spots | Downlights aimed straight at the mirror | Graze the surface, test with a mock-up |
| Chipped points | Sharp corners handled without eased tips | Eased points, protective film, careful handling |
Contractors should verify substrate flatness, moisture, service positions, lighting plan and site access before mirror delivery. Mirrors are a last-fix item, so late wall defects or wet finishes cause most failures. A written pre-install check protects both the glass and the programme.
Run this 5-Point Pre-Install Substrate Check:
A useful quotation request states finished dimensions, diamond proportion, glass thickness, edge finish, bevel width, quantity, substrate type and site conditions. With those inputs a fabricator can quote accurately and flag risks before production, rather than after glass arrives on site.
When requesting diamond shaped mirrors in Dubai, send:
Clean diamond mirrors with a soft cloth and an ammonia-free glass cleaner sprayed onto the cloth, not the mirror. Liquid running into joints can reach the silver and cause edge spotting, so wipe edges dry immediately and keep bathroom and salon mirrors ventilated.
Avoid acid or alkali cleaners and abrasive pads. Inspect joints and edges periodically, and address any darkening early, before it spreads under the paint.
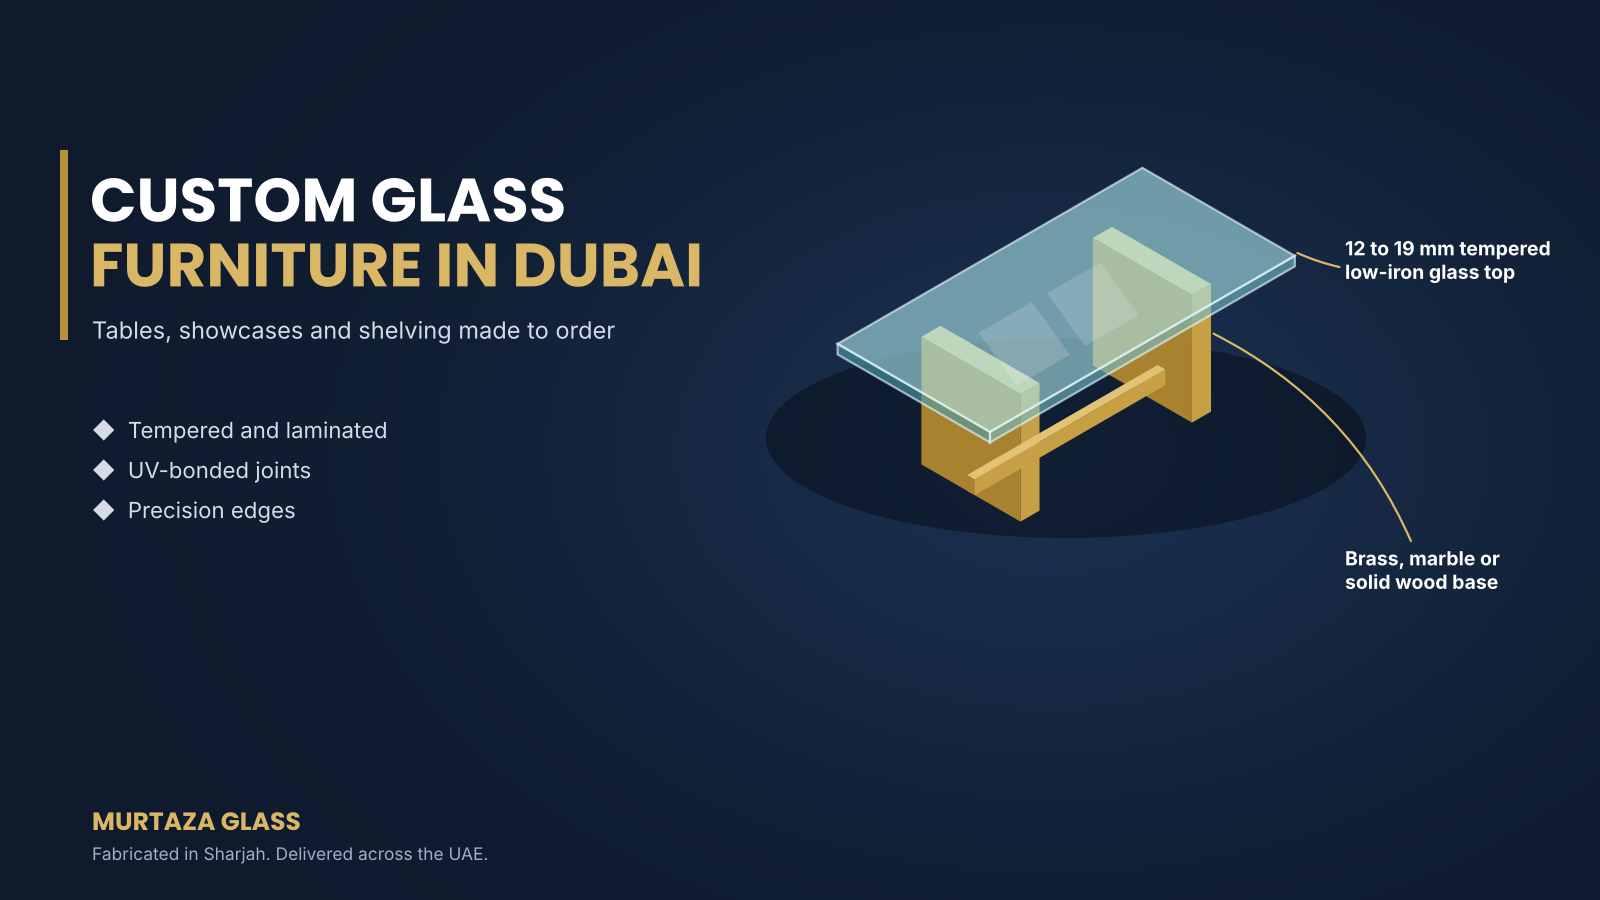
Diamond mirrors perform best as one element in a coordinated glass scheme. Pair a diamond wall with custom glass furniture, illuminated display units or standard wall mirrors so reflections, edge details and metal finishes repeat across the room. This keeps a luxury interior cohesive instead of decorated piecemeal.
The same logic applies in villas, penthouses, salons and hotel lobbies: choose one metal finish and one bevel language, then repeat them.
Good diamond shaped mirrors in Dubai come down to six decisions made in order:
Ready to specify? Send wall measurements, a photo and quantities to Murtaza Glass on WhatsApp +971 58 543 0631 or info@murtazaglass.com for a technical review and quote.
Price depends on glass thickness, mirror size, bevel width, edge finish, frame material and installation complexity. A small 4 mm tile costs far less than a 6 mm statement diamond with a 25 mm bevel and metal frame. Share measurements and a wall photo to receive an accurate quote.
Yes, with the right specification. Use copper-free silver backing, sealed edges, solvent-free neutral-cure adhesive in vertical beads and good ventilation. Keep the mirror clear of direct splash zones where possible, and wipe edges dry after cleaning.
Use 6 mm glass for large standalone diamonds, especially with 20 to 25 mm bevels. Use 5 mm for medium feature pieces and 4 mm for small grid tiles. Thicker glass stays flatter, supports wider bevels and gives a more premium edge, though it adds weight.
November 12, 2026
November 4, 2026
October 28, 2026
October 22, 2026

October 14, 2026
 +971 58 543 0631

